PROJECT: PLAYTIME Installation Guide: Escape the Factory in 6v1 Multiplayer
Play PROJECT: PLAYTIME on PC & Xbox for Free
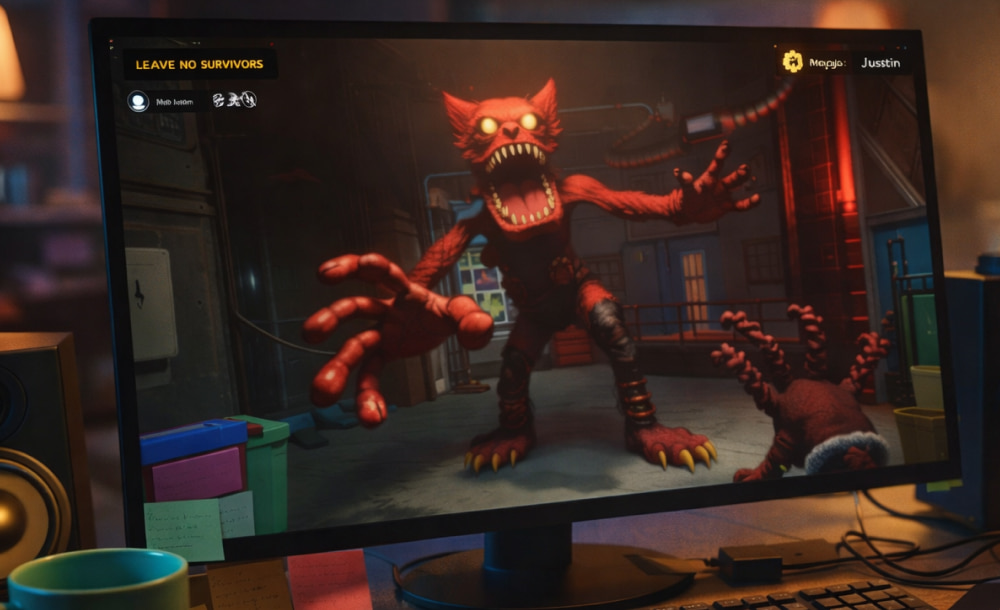
DownloadGetting ready for a smooth co-op horror session starts with a clean setup, stable drivers, and enough storage to avoid interruptions during updates. This guide walks you through the safest, most practical steps so you can get into matchmaking quickly and troubleshoot common snags without wasting time.
Before You Start: Quick Preparation Checklist
- Update Windows and restart once to finalize pending patches.
- Confirm you have sufficient free disk space for the base files plus updates.
- Close heavy background apps (recorders, browsers with many tabs) to reduce install conflicts.
- Ensure your GPU drivers are current to prevent launch crashes after setup.
If you experience unexpected errors later, most issues are solved by verifying files, updating drivers, and checking firewall permissions.
Step-by-Step Setup
The most reliable approach is to install through an official store page, because it handles file integrity, updates, and permissions automatically. To begin, open your preferred PC game platform, sign in, and search for the title. When you’re ready, start the PROJECT: PLAYTIME install process from the game’s page and let the downloader finish without pausing repeatedly.
Recommended Settings During Download
- Use a stable network (wired if possible) to reduce corrupted chunks.
- Choose a drive with plenty of space and a healthy file system.
- Avoid installing in heavily restricted folders if you use strict security tools.
Windows-Specific Notes
On modern PCs, the simplest path is the PROJECT: PLAYTIME install on Windows flow through your platform client, because it sets folder permissions and creates required redistributables automatically. If you changed default install locations, double-check that the target drive is not set to read-only and that your user account has write access.
How to Install and Launch Correctly
After the download completes, click play once to allow first-run configuration. If the game prompts for additional components, allow them to install. To avoid confusion between partial and complete downloads, wait for the progress bar to fully finish before you install PROJECT: PLAYTIME and start adjusting settings.
Common Issues and Fixes
| Problem | Likely Cause | Fast Fix |
|---|---|---|
| Download stuck at 0% or loops | Cached data or unstable connection | Restart client, clear download cache, retry on a stable network |
| Game won’t launch | Drivers, missing redistributables, or corrupted files | Update GPU drivers, run first-launch prerequisites, verify files |
| Black screen or stutter on first run | Shader compilation or heavy background apps | Wait a minute, then lower settings; close overlays and recorders |
| Can’t connect to matches | Firewall rules or NAT restrictions | Allow the app through firewall; reboot router; try a different region |
Verifying Files After Installation
If something feels off missing audio, unexpected crashes, or textures not loading use your platform’s “verify integrity” option. This step is especially helpful right after a PROJECT: PLAYTIME game install because it replaces damaged files without forcing a full reinstall.
About Free Access and Safe Sources
When players search for a PROJECT: PLAYTIME for free install, the safest approach is to use only official storefront listings or developer announcements, since third-party repacks can bundle unwanted software and cause account risks. If a page looks suspicious or requires disabling security tools, skip it and choose an official route.
Download Path Tips and Update Hygiene
To keep updates painless, store the game on a fast drive and avoid frequently moving the folder between disks. If you need to relocate it, use your platform’s built-in move feature instead of manual copy-paste. This makes the PROJECT: PLAYTIME download and install workflow consistent and reduces patching errors over time.
First Launch: Quick Optimization
- Set display mode (fullscreen or borderless) based on your alt-tab habits.
- Start with medium settings, then raise textures and effects gradually.
- Disable unnecessary overlays if you notice hitching during matches.
- Check audio devices in Windows if voice or output routes incorrectly.
Once everything is stable, hop into a practice session or a quick match to confirm performance, controls, and audio. A careful setup now saves you from troubleshooting mid-game and makes every session smoother.